New to Astronomy

 Selecting the right telescope can be a challenge for beginners. Here are some helpful guidelines to get you started in your new hobby.
First, let's review the types of telescopes there are to choose from. There are three main types of telescopes:
-
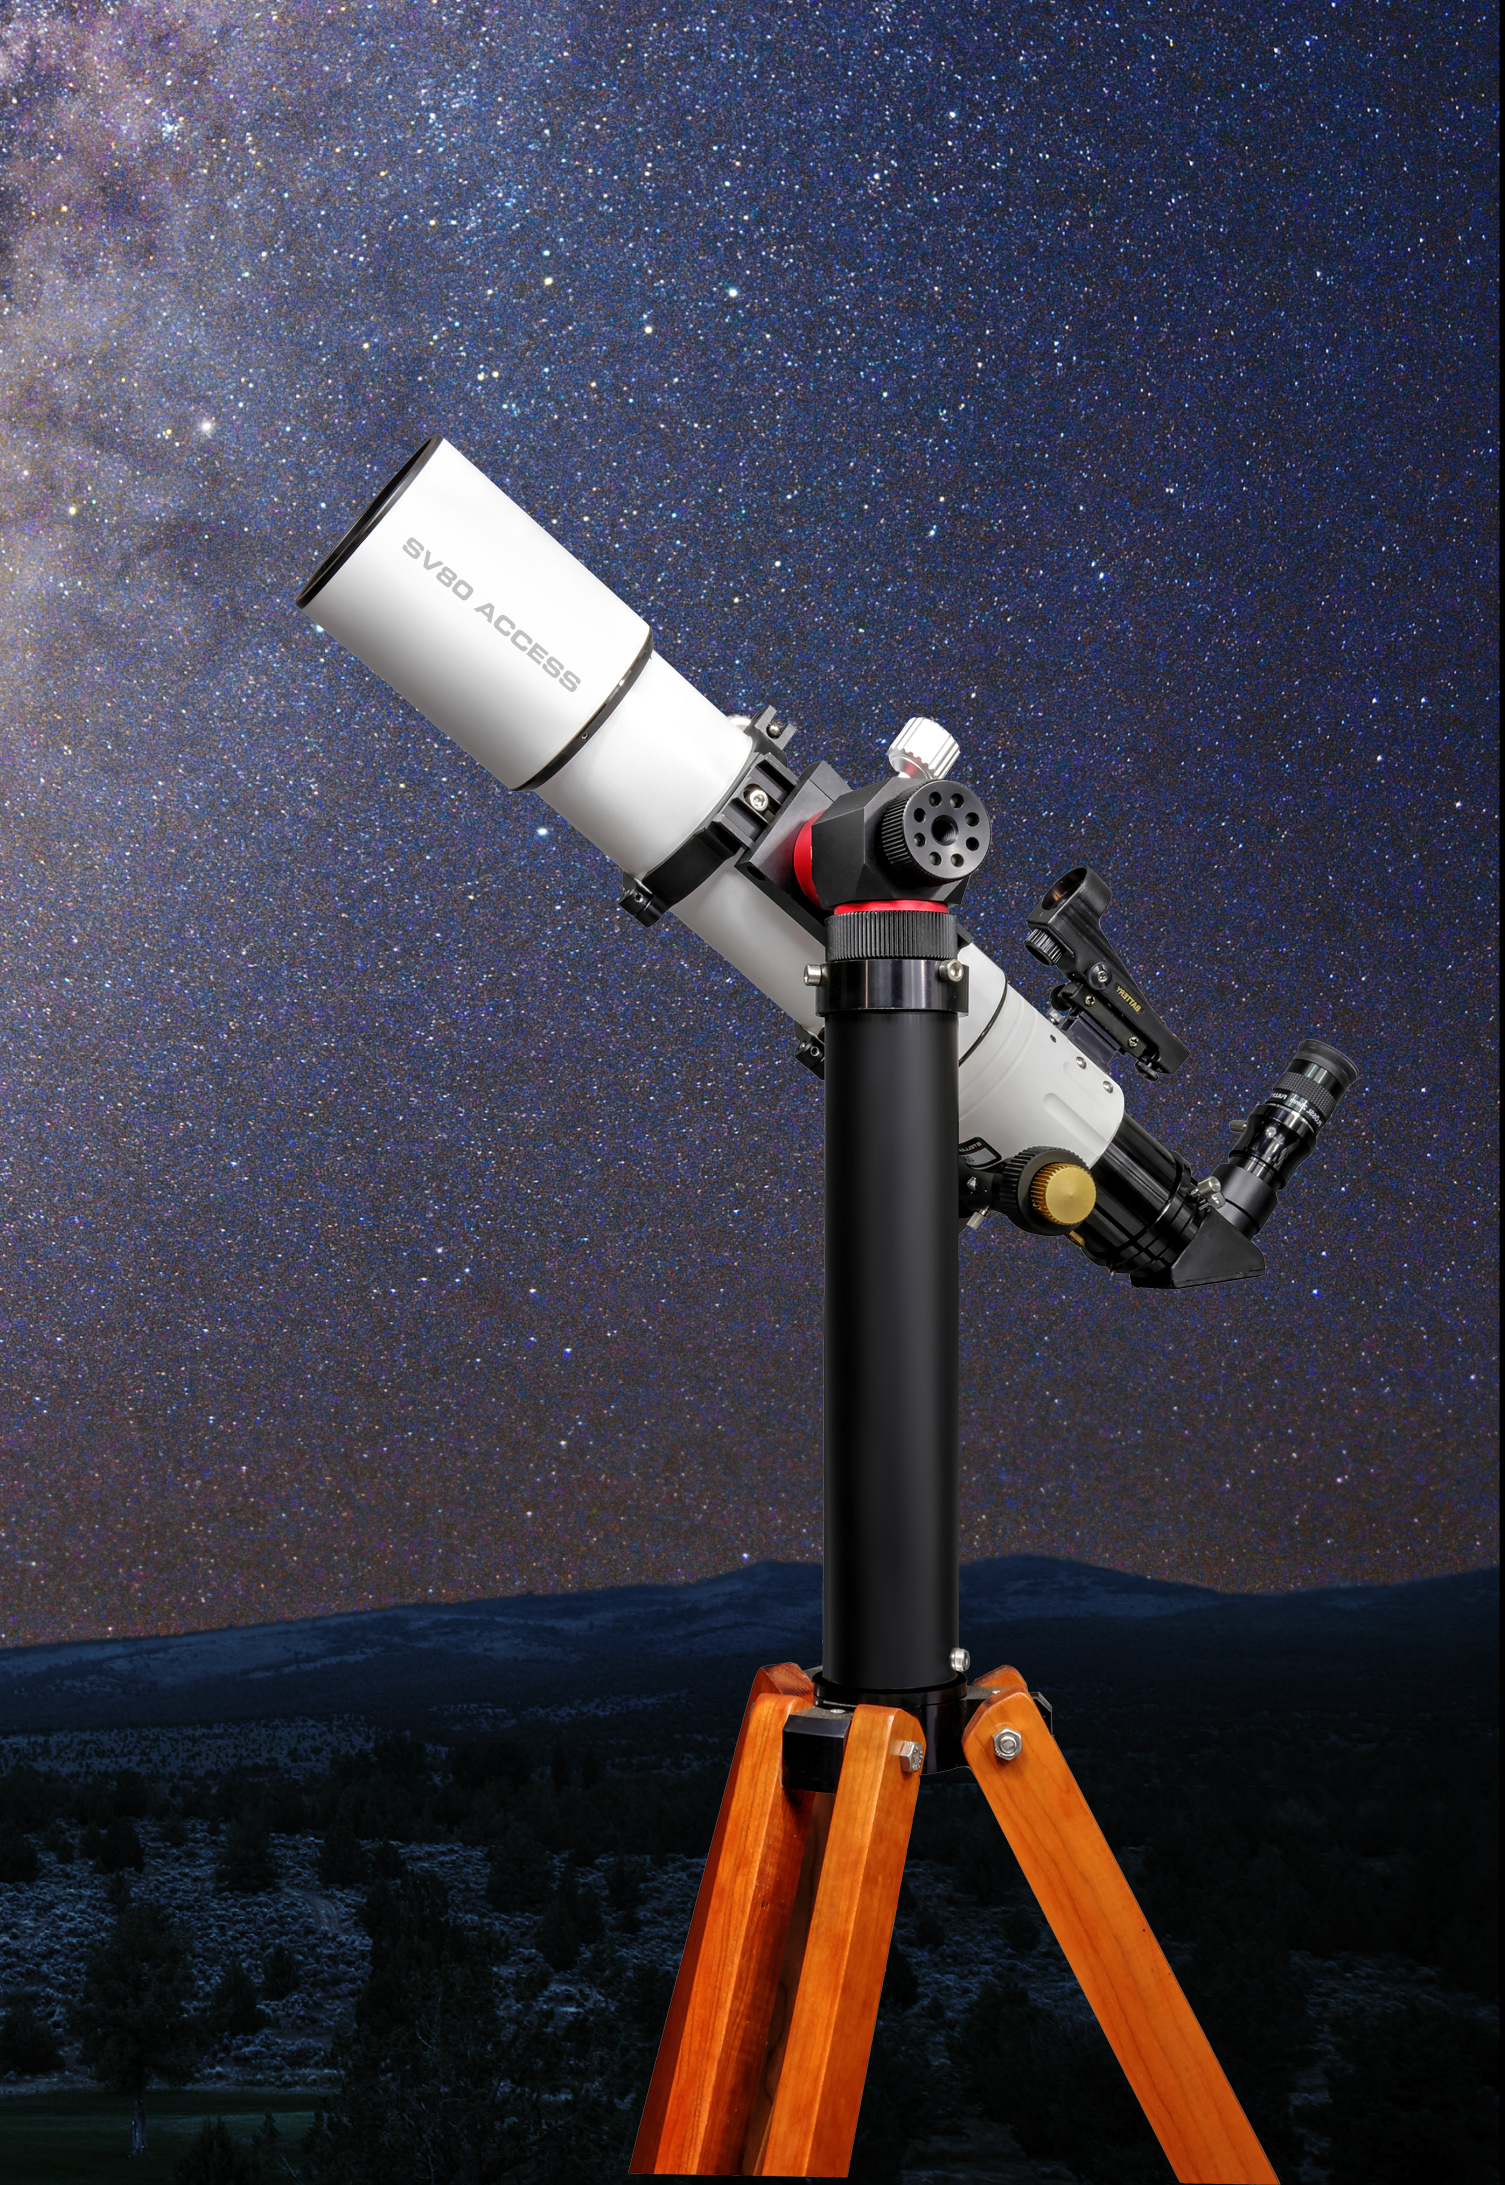
1. Those with lenses (Refractors, below left)
-
2. Those with mirrors (Reflectors, below center)
-
3. Those that use both refractive and reflective optics (Catadioptric Telescopes, below right)

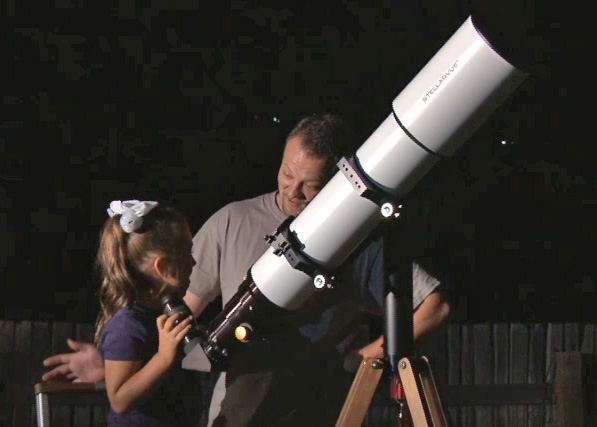
The Refractor: Refractor telescopes have a lens in the front, while the eyepiece is located at the rear. Refractors are more expensive than reflectors because they have several curved optical surfaces that need to be precisely figured. High-quality refractors have high contrast, show extreme clarity, have sealed tubes, never need alignment, and are lighter (and therefore more portable) than reflectors.
Stellarvue builds both doublet and triplet refractors. Doublets contain two glass elements and are generally used for visual observation. Triplets use three elements and are used for both visual use and astro-imaging. The diagram above shows a triplet refractor.
Stellarvue wide-field refractor telescopes have specific advantages over larger reflectors:
 1. When using a wide-field eyepiece, Stellarvue 80- and 90-mm telescopes become a "Richest Field Telescope". This means they show an enormous amount of sky, which larger telescopes cannot do. Often, when customers decide to upgrade to a larger Stellarvue refractor, they keep their smaller and wider field Stellarvue in order to still observe the entire Andromeda Galaxy or sweep around the Milky Way with thousands of stars in full view. Imagers keep them so they can contain to image wide fields.
2. A small, wide-field telescope is easy to set up and perfect for travel. Our 80- and 90-mm refractors come in an airline carry-on case so that only the tripod will need to be checked.
3. 80- and 90-mm refractors can be used as terrestrial or birding telescopes by adding an erecting prism. The telescope is small, and the eyepiece conveniently placed for use as the ultimate terrestrial telescope.
4. Current models of Stellarvue telescopes are all apochromatic. This means that they are extremely sharp, are free of annoying color fringe, have the highest contrast available, and provide a view comparable to high-end birding telescopes that cost over $2,000.
The Reflector: The most common and least expensive type of reflector has a mirror in the back with an eyepiece on the side of the tube. This is known as a Newtonian Reflector, named after its inventor, Sir Isaac Newton. Newtonian reflectors are easier to make than refractors as they have only one curved surface. As such, they are usually less expensive than refractors. One problem with the design of this telescope is that it has an open tube, and air currents inside can distort the image. Additionally, reflectors are larger, heavier, and require periodic alignment. One benefit of reflectors is that they gather a lot of light (they are often called "light buckets"), making some objects easier to view. For this reason, you may eventually end up with a large reflector and use it to study distant galaxies and nebulae, also known as "faint fuzzies".
There is a significant difference in performance between mass-produced and custom-made reflectors. Custom-made reflectors typically use a high-end mirror that is hand-figured by a master optician. Mass-produced reflectors, however, tend to be of very poor quality.
To verify this, Stellarvue staff tested a mass-produced, 16" f-4.5 mirror from a reflector telescope, and found the optical performance to be very poor. Resolution was compromised and contrast was lacking. Stellarvue staff then tested a 16" f-4 mirror from Lockwood Custom Optics with the same conditions. The star test was perfect, contrast was high, and resolution was outstanding.
The catadioptric telescope: These are the short, stubby telescopes often used at star parties. They have names like Schmidt-Cassegrain or Maksutov-Cassegrain. The advantage of this design is that they are short and portable. The disadvantages are that they have a very small field of view, and they lack the contrast seen in high-end refractors. This is because light is reflected back and forth, and there is a large secondary mirror in the middle of the light path.
What telescope would you recommend to a beginner? We recommend smaller apo refractors because they have highly accurate optics that provide razor-sharp images, no central obstruction, a wide field of view, and the ability to increase power to 100X-per-inch under very steady skies.
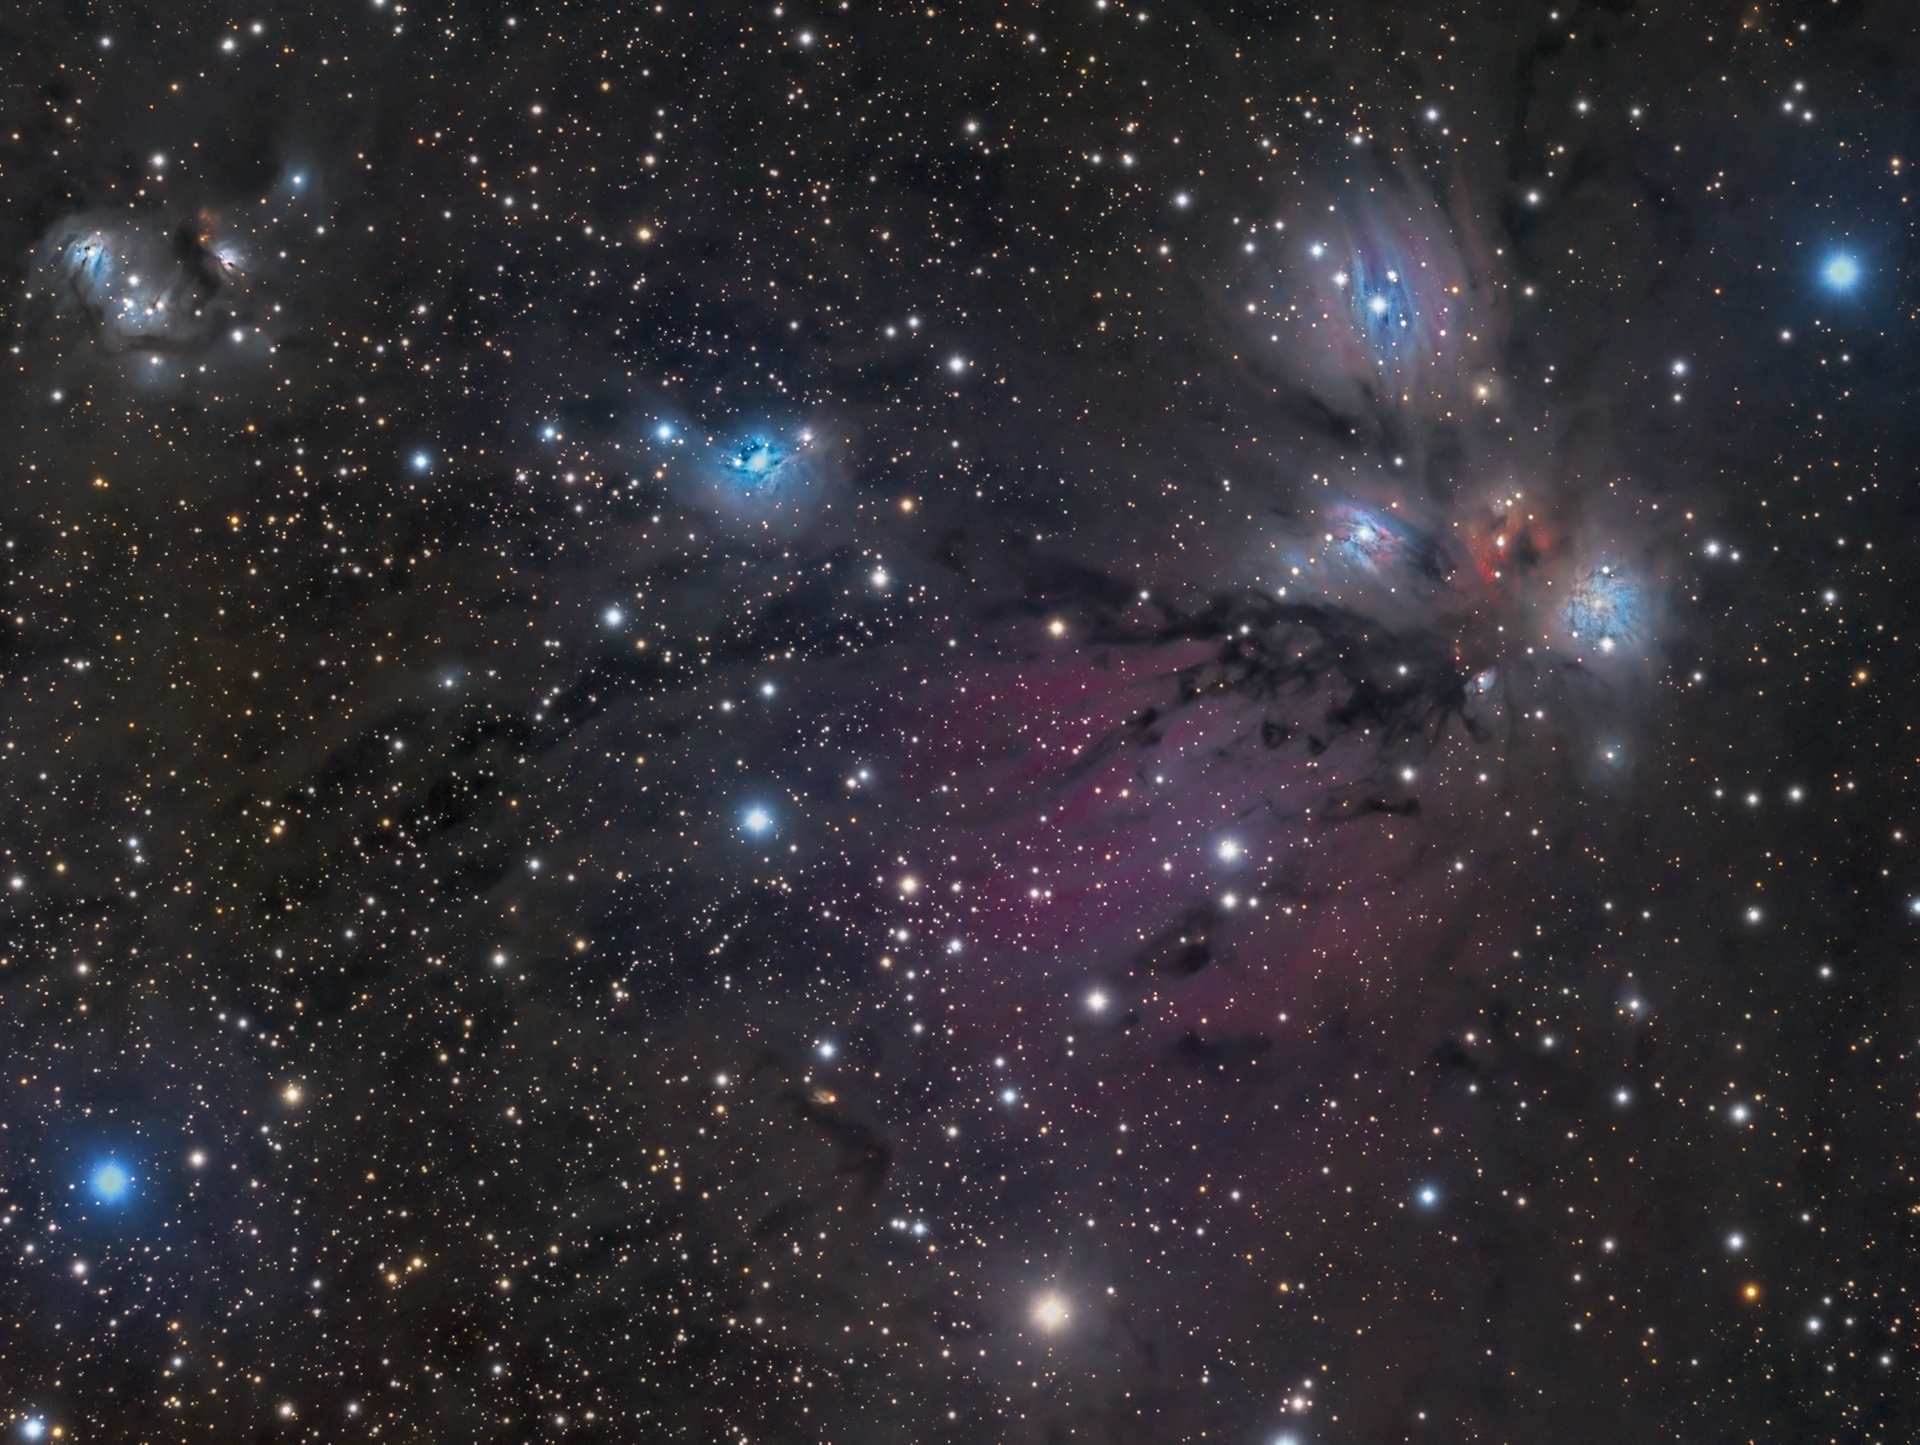
What will I see? As a beginner, you will not be able to see deep space objects in color (as seen on our StellarBlog or product pages). Newcomers are sometimes enticed into astronomy by the color images seen in magazines or on the web. Those images are used to demonstrate what the telescope is capable of when fitted with cameras using CCD or CMOS sensors. Digital cameras and sensors can gather much more light than the human eye can, and adding various filters isolates bands of light that our eyes cannot necessarily process. Stellarvue's website features beautiful images taken with our telescopes by customers who have submitted them for our use or given us permission to share them. Most of these images take hours and hours to process with multiple computer programs. Click this link for an online field of view (FOV) calculator, where you can select Stellarvue telescopes and eyepieces within the drop-downs and simulate objects you'd like to see.
Step-by-step guide for those new to the hobby:
1. Start by learning the night sky. You can download inexpensive or free planetarium apps like Star Walk, Star Chart (iPhone/iPad), or Starlight on your portable device to show you the sky above in real time and help you learn the constellations. These programs are simple and fun to use, and will point out the locations of planets and deep sky objects above you.
 2. Try binoculars. With your planetarium program you can now use binoculars or a wide-field telescope to get a closer look at objects like the moon, nebulae, and star clusters. Get out to a dark sky location. You will be amazed at how many stars are above and how awesome open clusters and the Milky Way appear in your binoculars. The advantage is that binoculars are readily available; the disadvantage is that you are limited to low power.
3. Purchase a wide-field refractor with good optics, a stable mount, and tripod: Having learned the night sky and several constellations, you are now ready to get your first telescope. The advantage of a good wide-field telescope over binoculars is that you can select different eyepieces to boost the power and see much more. It is possible to make out the moons of Jupiter with a good pair of binoculars, but you will never see the planets' surface features or the rings of Saturn.
 4. Which Stellarvue telescopes are recommended for beginners? The Stellarvue SVX90T is a 90 mm f-6 apo triplet made using our deluxe 3" dual speed, rack and pinion focuser, hand-figured in our own facility in Auburn, CA. This high-Strehl instrument is recommended for those not ready to jump too deep into our other SVX refractors, but wanting something they will keep. This is also a great telescope to use when starting to image the night sky by adding the SFFX-1 Photographic Field Flattener.
After imaging wide fields with the SVX90T, you may decide later to get involved in more serious Astrophotography. If this is the case, you may want to consider buying a larger Stellarvue which will also entail getting a larger telescope mount and tripod.
 5. So... you want to start taking pictures through your telescope? If you think that someday you will want to try astrophotography, it is recommended that you first enjoy the visual performance of your telescope for at least a year. This will allow you to learn the night sky and get to know the various objects in space. Learning how to take images can be a frustrating experience even with the best of equipment, so make sure you are ready before jumping off into the deep end. But when you are ready, make sure you get a highly accurate equatorial mount. While you may start off using your DSLR, eventually you will want to invest in a CCD camera dedicated to imaging the night sky. Astro imaging is not as easy as it looks and there is a long learning curve. Make sure you are ready and properly outfitted before you take the plunge.
Here are some starter objects for those new to astonomy:
| Winter Objects | ||
| Object Name | Type of Object | Constellation |
| M35 | Star Cluster | Gemini |
| M36 | Star Cluster | Auriga |
| M37 | Star Cluster | Auriga |
| M41 | Star Cluster | Canis Major |
| Orion Nebula (M42) | Diffuse Nebula | Orion |
| The Pleiades (M45) | Star Cluster | Taurus |
| Spring Objects | ||
| M3 | Globular Cluster | Canes Venatici |
| Beehive Cluster (M44) | Star Cluster | Cancer |
| Algieba | Double Star | Leo |
| Mizar | Double Star | Ursa Major |
| Summer Objects | ||
| Butterfly Cluster (M6) | Star Cluster | Scorpius |
| M7 | Star Cluster | Scorpius |
| Lagoon Nebula (M8) | Diffuse Nebula & Star Cluster | Sagittarius |
| Wild Duck Cluster (M11) | Star Cluster | Scutum |
| M13 | Globular Cluster | Hercules |
| Swan Nebula (M17) | Diffuse Nebula | Sagittarius |
| Ring Nebula (M57) | Planetary Nebula | Lyra |
| Albireo | Double Star | Cygnus |
| Fall Objects | ||
| M2 | Globular Cluster | Aquarius |
| M15 | Globular Cluster | Pegasus |
| Andromeda Galaxy (M31) | Galaxy | Andromeda |
| Double Cluster (NGC869 & 884) | Star Clusters | Perseus |
Telescope-Astronomy Glossary
We also have an abbreviated Telescope-Astronomy Glossary to help you become more familiar with common terms used while discovering more about telescopes and astronomy. We hope this helps and inspires you to learn more.
